Simplify Your Email Testing Process – Especially for CF7 Attachments!
Tired of the hassle and uncertainty when testing emails in development?
With MailMug.net, you can easily test emails and CF7 attachments using our sandbox SMTP server.
No more spamming real inboxes or guessing if your Contact Form 7 files were sent correctly.


Sample Shortcode (file upload example)
[file* your-image]


File Tag Options
| OPTION | EXAMPLES | DESCRIPTION |
|---|---|---|
| id:(id) | id:some-id |
id attribute form file input tag. |
| class:(class) | class:some-class-here |
class: the attribute value of the input element. One or more classes are possible, like [file your-file class:col-md-2 class:m01 class:pt-1]. |
| filetypes:(filetypes) | filetypes:gif|jpg|jpeg|png
OR
image/*|txt|application/pdf |
Add acceptable file types after filetypes: Multiple file types are separated with the (pipe) '|' character. You can specify file types using their extensions or MIME types. |
| limit:(num) | limit:2043576
limit:3024kb
limit:3mb |
Maximum upload file size. (i.e., like this: [file your-file limit:1.5mb]) |
Acceptable File Types
- Images:
.jpg,.jpeg,.png,.gif - Documents:
.pdf,.doc,.docx,.odt - Presentations:
.ppt,.pptx - Audio:
.mp3,.m4a,.ogg,.wav - Video:
.mp4,.mov,.avi,.mpg,.wmv
file form tag to match your requirements.
How do I fix the "You are not allowed to upload files of this type" error in Contact Form 7?
To fix this error, specify the allowed file types using either file extensions or MIME types in thefiletypes option of the file upload field.
The MIME types you specify must be supported by WordPress through wp_get_mime_types(), or you can use wildcard MIME types such as image/*, audio/*, or video/* to allow an entire category of files.
Example 1: [file* your-viode filetypes:video/*]
Example 2: [file* your-video filetypes:image/*] (Upload image files only)
How to Attach Files to Contact Form 7 Emails?
Go to WP-admin > Contact Form 7 ( created form) > mail > file attachments, add your file input tag as in the image.

What is the file upload size limit in Contact Form 7?
By default, Contact Form 7 limits file uploads to 1 MB (1,048,576 bytes). You can change the maximum upload size using thelimit: option in the file upload field. The limit can be specified in bytes, KB, or MB. For example:
limit:512kblimit:2mblimit:1048576
Image Upload Dimension Validation
You can validate image dimensions, such as width and height, in Contact Form 7 by using thewpcf7_validate_file filter.
This allows you to reject images that do not meet your required dimensions before the form is submitted.
[file* your-image filetypes:gif|jpg|jpeg|png]
Add the following code in your theme functions.php file or custom plugin file.
Here, the minimum width and height are 300px.
[crayon-6ad167659b957920623844/]
The Contact Form 7 file upload is not working?
Have you got an error message, "There was an unknown error uploading the file"? We can fix it by following the steps.First step:
Check wp-content/uploads/wpcf7_uploads folder is writable (755 - 777 ) or not. It should writable folder. Make sure your wpcf7_uploads folder is writable. For Linux and Mac OS, we can change folder permissions with the following command. [crayon-6ad167659b963181016946/] Please try 777 if it is not working. But 777 is not a good practice.Second step:
How do I fix the "The uploaded file is too large." error in Contact Form 7?
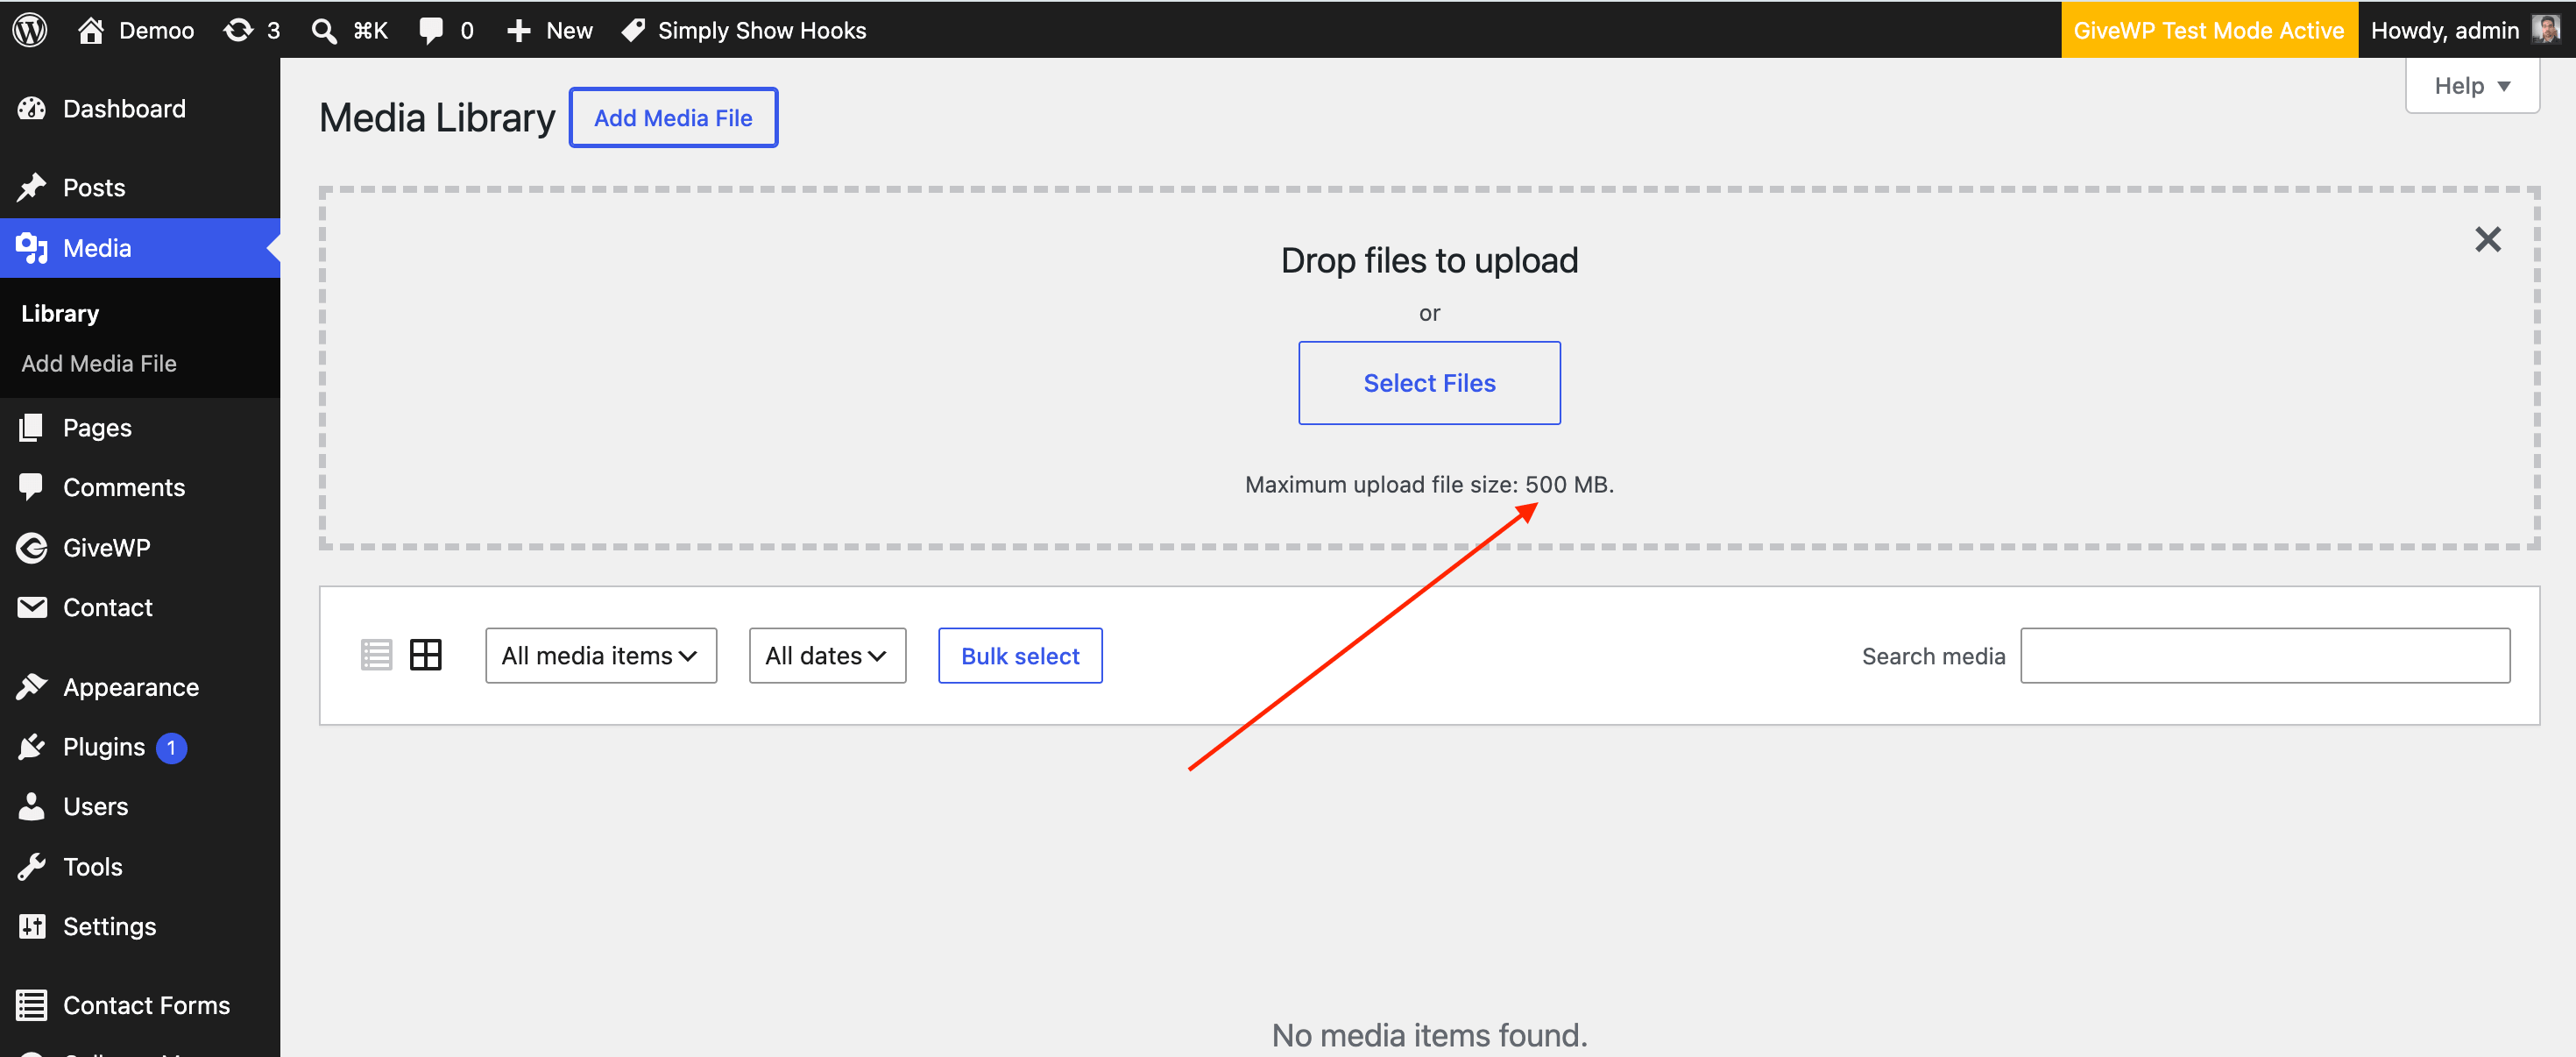
If you see the error "The uploaded file is too large.", check your PHP maximum upload file size. In WordPress, go to Media → Add New and look for "Maximum upload file size: X MB". This value must be greater than or equal to the file size limit configured in your Contact Form 7 file upload field (using thelimit: option). If the PHP upload limit is smaller, file uploads will fail even if Contact Form 7 allows a larger size.
upload_max_filesize, post_max_size, and memory_limit directives in your php.ini file as shown below.
[crayon-6ad167659b967805479501/]
Now you can upload a maximum 20Mb file. You can change this value according to your needs.
Method 2: Change the maximum file upload size with an .htaccess file
Add the following lines of code to your root .htaccess file. You can add the last part of your .htaccess file.
[crayon-6ad167659b969707933761/]
Method 3: Change maximum file upload size with wp-config.php or the selected theme functions.php file
Add the following line of code in the wp-config.php or theme functions.php file.
[crayon-6ad167659b96b815561712/]
File Upload Path
By default wp-content/uploads/wpcf7_uploads is a temporary upload file path. Files will be deleted immediately after a few seconds. You can change the temporary folder name byWPCF7_UPLOADS_TMP_DIR constant in wp-config.php.
[crayon-6ad167659b96d402093437/]
How to save the attached file to the server (Develop CRM)?
Install the column-based database addon. You can save submissions to the external or internal database. It will automatically create new tables for each CF7 form and separate MySQL columns for each input field.
Does Contact Form 7 save data and files to the database?
We can't save submission data without additional extensions. We can use a column-based database add-on or CFDB7 plugin to save submissions to the MySQL database.Where do Contact Form 7 Submissions go?
By default, Contact Form 7 sends form submissions by email and does not store them in the WordPress database.
If you need to save submissions, you can capture the form data using Contact Form 7 action hooks, but this requires advanced PHP programming knowledge. Alternatively, you can use a database plugin such as CFDB7 or a column-based database add-on to store form submissions in your WordPress database.Get uploaded files by code
Save uploaded files using a custom plugin or your theme'sfunctions.php file.
You can access uploaded files through the wpcf7_before_send_mail action hook and the WPCF7_Submission class. WPCF7_Submission is a singleton class, which means only one instance is available during a form submission. You can retrieve that instance using the get_instance() method and access the uploaded files.
See the example code below.
[crayon-6ad167659b971407625738/]
We can copy or move the uploaded file using the move_uploaded_file PHP function before sending mail. This file will automatically be deleted after the sent mail.
Customize file upload validation error messages
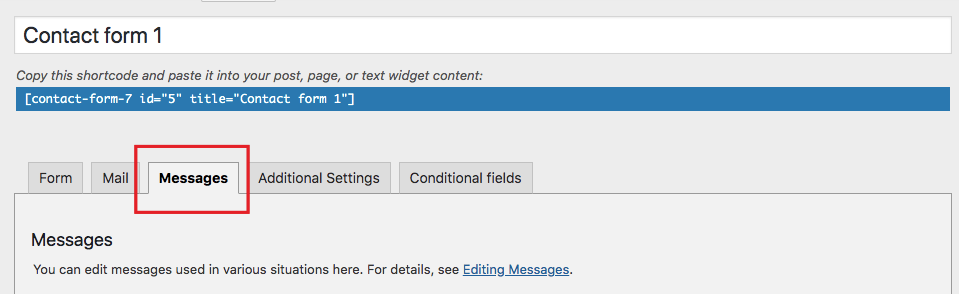
Go to Contact Form 7 form > messages tab. Then set the custom message in the input field.